CW Quick Pages

CW Quick Pages

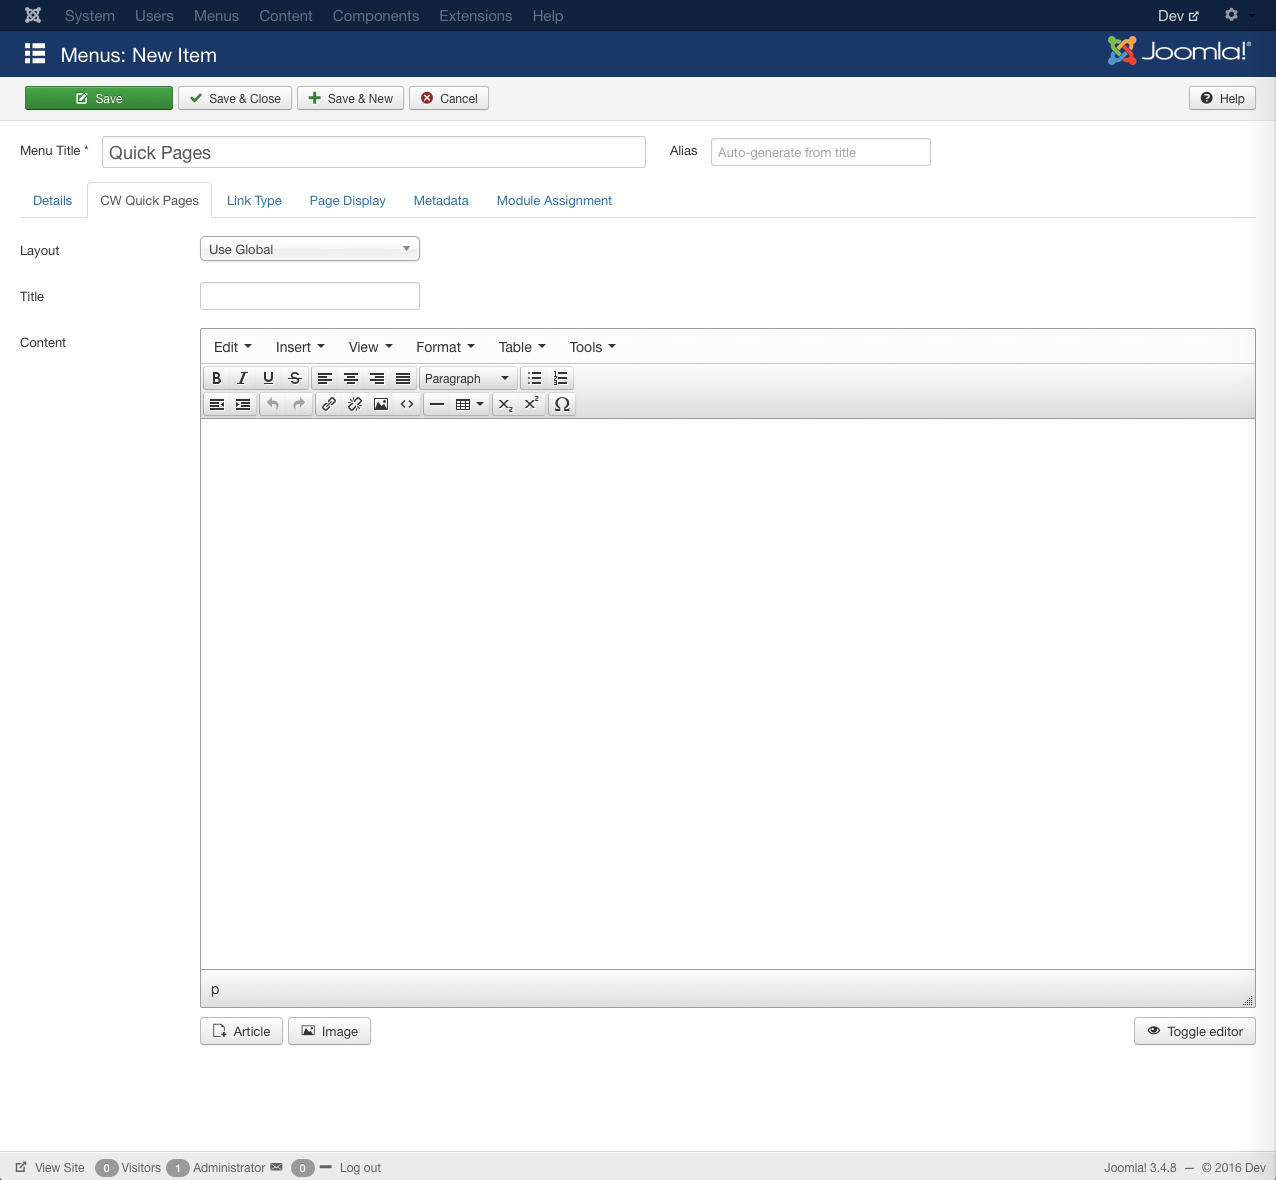
CW Quick Pages is the quickest way to add a content page in Joomla!. Simply create a CW Quick Pages menu item; add your page content directly in the menu item, and Save. That's all there is to it!

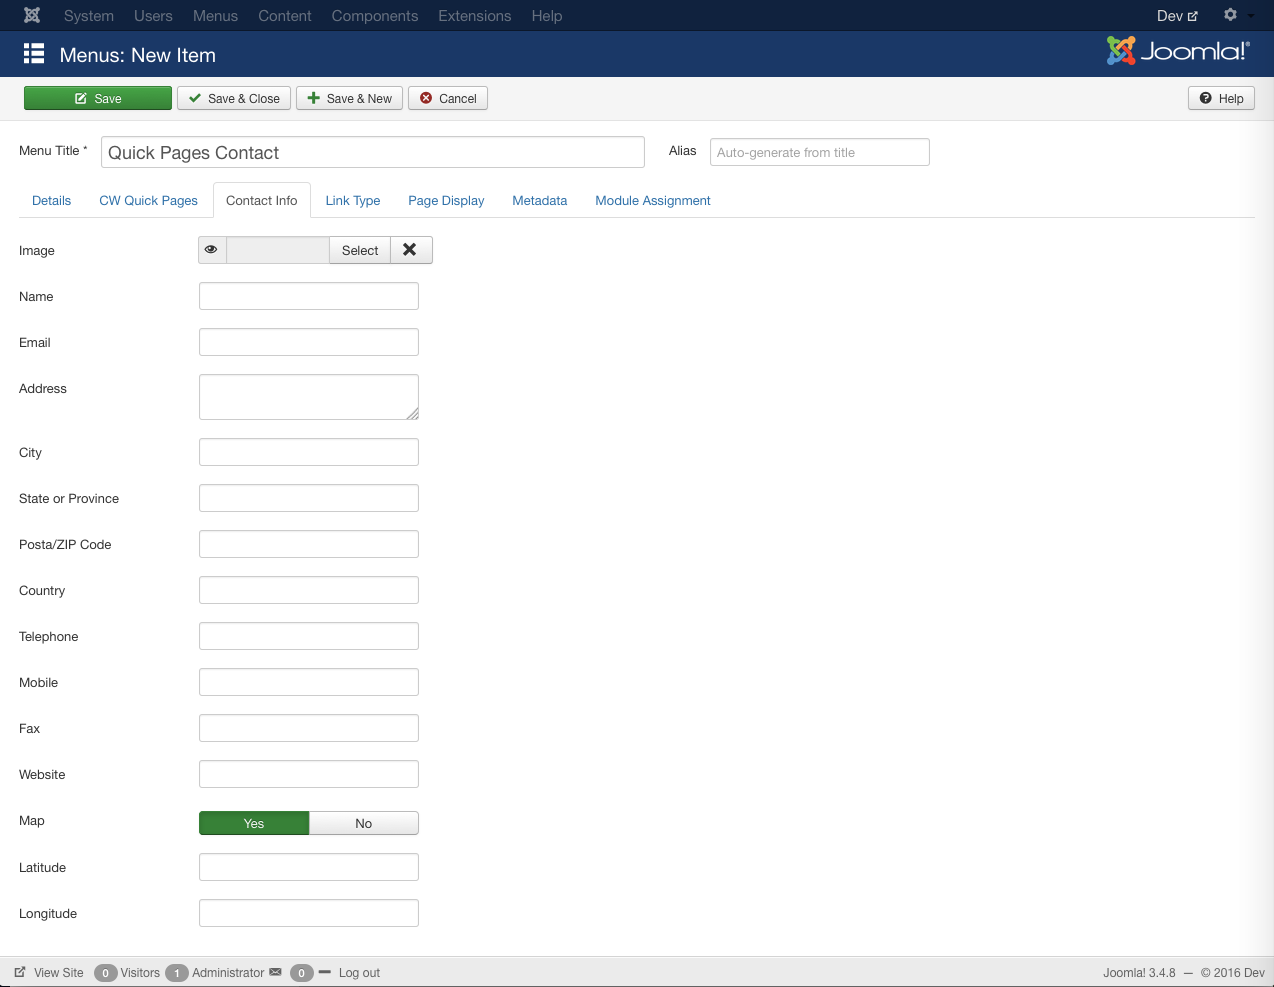
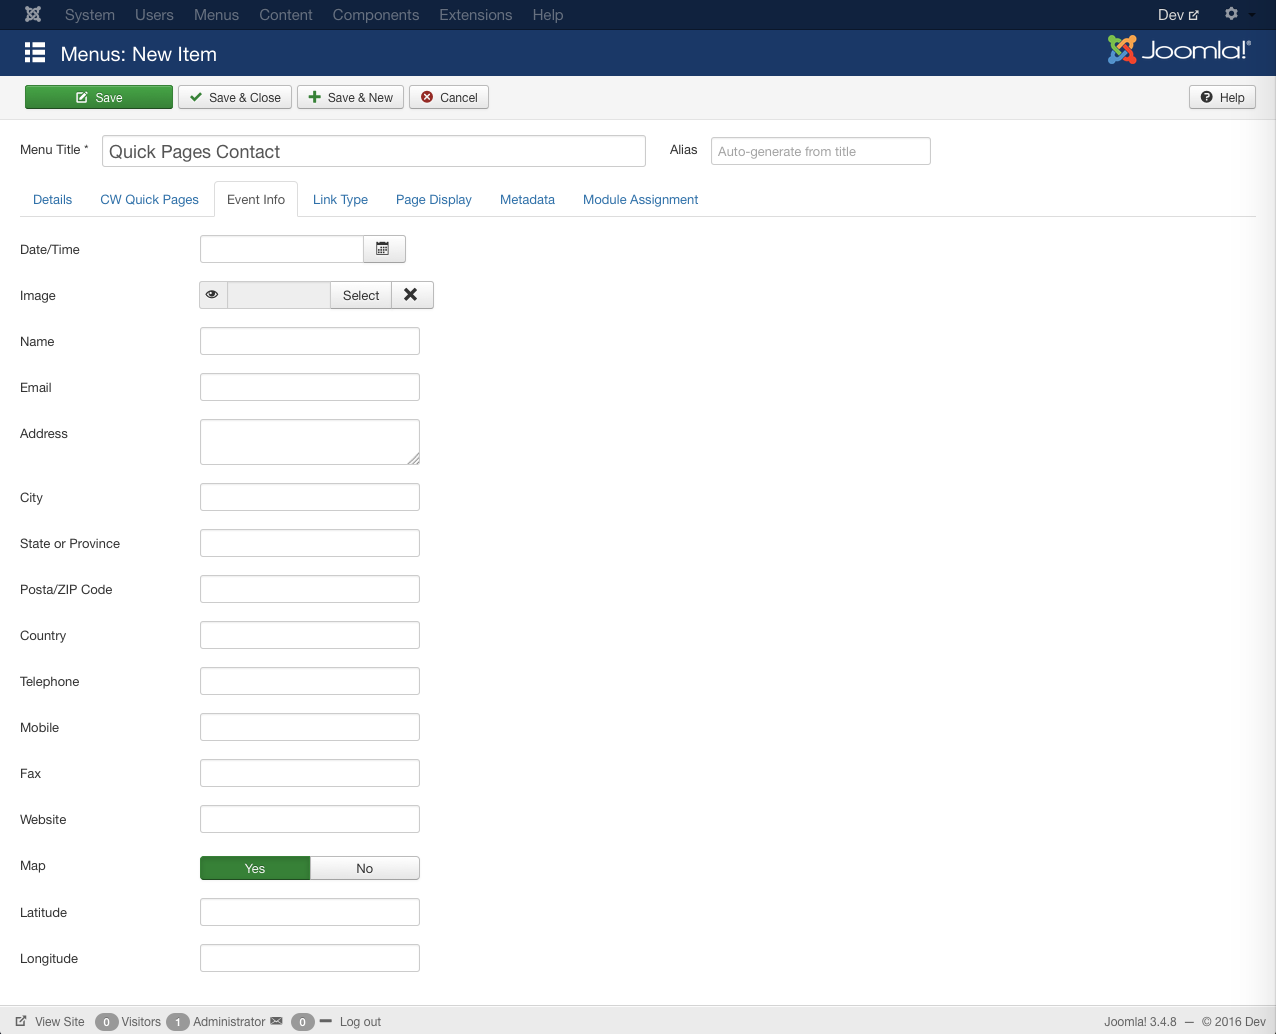
This component comes with 3 different page types: page, contact, and event. Each page type is defined and stored as Joomla menu items, so your page and menu data are finally stored in one place. No more opening com_content, creating an uncategoriezed article and then creating a single article menu item just to create a simple content opage. With CW Quick Pages, you cut out the com_content middle man and create pages simply by creating menu items.

More details


Need help? Check out our documentation.

  • Standard Joomla MVC structure
  • All data stored as menu item parameters so no extra data to manage
  • Create a page by simply creating a menu item
  • Cut out the com_content middle man
  • 3 page types included: Page, Contact, and Event
  • CCK for developers: easily create your own custom page types with standard Joomla template overrides (requires knowledge of menu item manifest XML files)
  • GPL License

Note: CW Quick Pages does not have a search plugin yet, so the content created with this component is not currently searchable.

Basic Instructions | Intermediate Instructions | Advanced Instructions


Basic Instructions

Creating a Standard Content Page

  1. Open a menu in the menu manager.
  2. Click the New button to add a menu item.
  3. Set the menu item type to CW Quick Pages > Page
  4. In the menu item's CW Quick Pages tab, enter the page title and page content.
  5. Save the menu item.

Creating a Contact Page

  1. Open a menu in the menu manager.
  2. Click the New button to add a menu item.
  3. Set the menu item type to CW Quick Pages > Contact
  4. In the menu item's CW Quick Pages tab, enter the page title and page content.
  5. In the menu item's Contact Info tab, enter the contact information to be displayed. *
  6. Save the menu item.

Creating an Event Page

  1. Open a menu in the menu manager.
  2. Click the New button to add a menu item.
  3. Set the menu item type to CW Quick Pages > Event
  4. In the menu item's CW Quick Pages tab, enter the page title and page content.
  5. In the menu item's Event Info tab, enter the event information to be displayed. *
  6. Save the menu item.

Intermediate Instructions

Overriding the Layout of a Standard Content Page

  1. Copy /components/com_cw_quickpages/views/page/tmpl/default.php to /templates/{YOUR_TEMPLATE}/html/com_cw_quickpages/page/default.php
  2. Modify as needed.

Adding Multiple Layouts for Standard Content Pages

  1. Copy /components/com_cw_quickpages/views/page/tmpl/default.php to /templates/{YOUR_TEMPLATE}/html/com_cw_quickpages/page/default.php
  2. Rename the file to something other than default.php. (Example: newlayout.php)
  3. Modify as needed.
  4. Repeat as needed with different layout names.
  5. When adding a new standard content page, in the CW Quick Pages tab of the menu item, select the layout you wish to use.

Overriding the Layout of a Contact Page

  1. Copy /components/com_cw_quickpages/views/page/tmpl/contact.php to /templates/{YOUR_TEMPLATE}/html/com_cw_quickpages/page/contact.php
  2. Modify as needed.

Adding Multiple Layouts for Contact Pages

  1. Copy /components/com_cw_quickpages/views/page/tmpl/contact.php to /templates/{YOUR_TEMPLATE}/html/com_cw_quickpages/page/contact.php
  2. Rename the file to something other than contact.php. (Example: newcontactlayout.php)
  3. Modify as needed.
  4. Repeat as needed with different layout names.
  5. When adding a new contact page, in the CW Quick Pages tab of the menu item, select the layout you wish to use.

Overriding the Layout of an Event Page

  1. Copy /components/com_cw_quickpages/views/page/tmpl/contact.php to /templates/{YOUR_TEMPLATE}/html/com_cw_quickpages/page/contact.php
  2. Modify as needed.

Adding Multiple Layouts for Event Pages

  1. Copy /components/com_cw_quickpages/views/page/tmpl/event.php to /templates/{YOUR_TEMPLATE}/html/com_cw_quickpages/page/event.php
  2. Rename the file to something other than event.php. (Example: neweventlayout.php)
  3. Modify as needed.
  4. Repeat as needed with different layout names.
  5. When adding a new event page, in the CW Quick Pages tab of the menu item, select the layout you wish to use.

Advanced Instructions

Creating Your Own CW Quick Pages Menu Item Type

This requires at least a basic understanding of Joomla! MVC architecture.

The quickest way to do this is to use the Contact menu item type as an example. Notice that in /components/com_cw_quickpages/views/page/tmpl there are 2 files for the contact layout: contact.php and contact.xml.

The file contact.php defines the layout of the page, while contact.xml defines the menu item type as well as the parameters to be used in the menu item.

  1. Copy /components/com_cw_quickpages/views/page/tmpl/contact.php to /templates/{YOUR_TEMPLATE}/html/com_cw_quickpages/page/contact.php
  2. Copy /components/com_cw_quickpages/views/page/tmpl/contact.xml to /templates/{YOUR_TEMPLATE}/html/com_cw_quickpages/page/contact.xml
  3. Rename contact.php and contact.xml in your template to some other name, making sure that everything but the file extension is the same. (Example: newtype.php and newtype.xml)
  4. Mofiy the new PHP file and XML file as needed.
  5. Click here for more more information on adding parameters (fields) in the XML file.

* Note: To display a map, you must enter the latitude/longited coordinates. These can be obtained at http://www.latlong.net/.

CW Quick Pages - Menu Item Types

screenshot joomla component cw quickpages types

CW Quick Pages - Page

screenshot joomla component cw quickpages page

CW Quick Pages - Contact

screenshot joomla component cw quickpages contact

CW Quick Pages - Event

screenshot joomla component cw quickpages event